
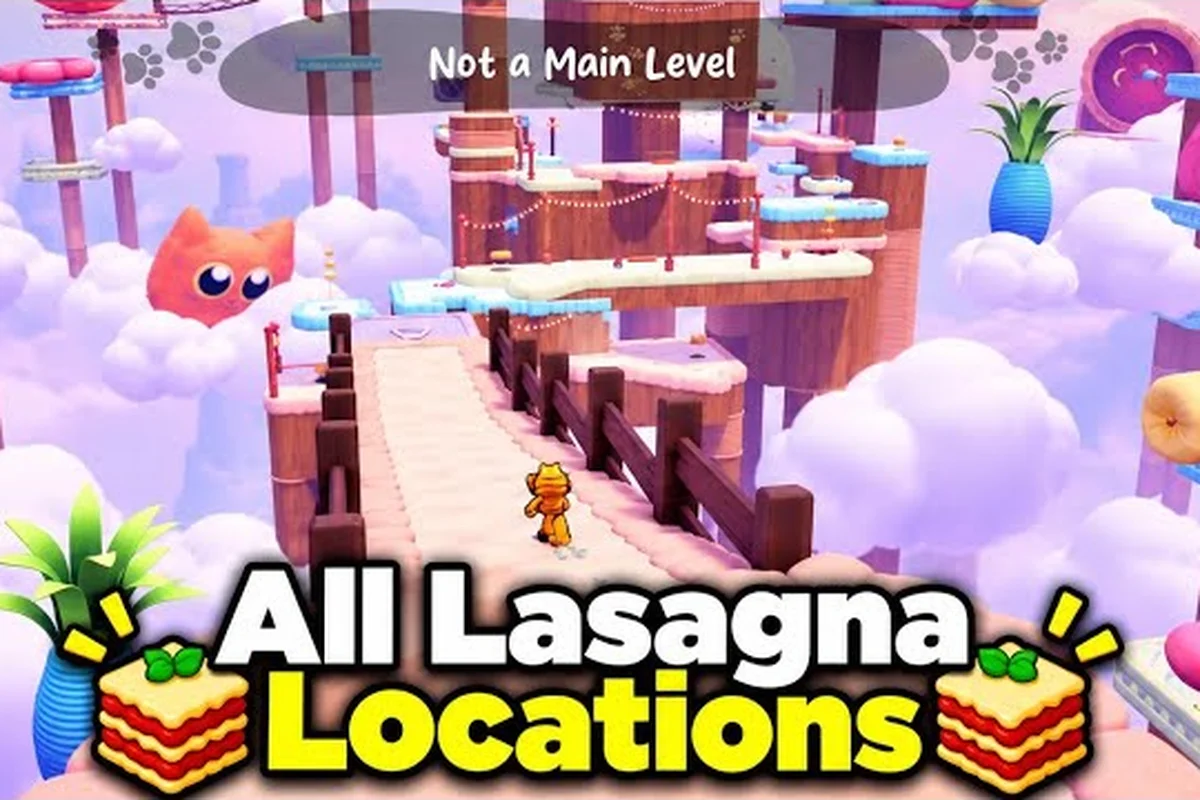
The 1-minute clock in Garfield - Escape from Monday's Roly Poly side level punishes hesitation more than almost any other timer stage in the game, and the difference between a clean Yum-O-Meter clear and a frustrating reset usually comes down to three things: how you chain rolls through the snack clusters, whether you take the long lobby shortcut or push through the back-corridor cache, and how aggressively you bank your meter at the rolling drum before the buzzer. Because the side level cycles its pickups between runs, treating it like a pure speedrun usually costs you the secret snack caches that pad the meter and keep the achievement tracker on pace. This pickup guide breaks the run into repeatable loops, shows where the cached items actually sit between the bookshelves and the back office, and maps the route that the speed clear community currently treats as the cleanest path through the timer.
If you have already cleared the main worlds and just need the side level to land for the house refurbish and the 10,000-snack milestone, the route below is built around the same logic the broader Roly Poly guide uses, but trimmed to the one-minute window so you can stop bleeding restarts on this stage specifically.
How the 1-Minute Roly Poly Timer Actually Works
The 1-minute Roly Poly stage is a self-contained side level that gates several of the collectible achievements in Garfield - Escape from Monday, including the broader side-level rewards chain and the off-the-beaten-path exploration achievements. According to community data from speed-clear runs, the level runs on a fixed 60-second clock that starts the moment Garfield unrolls from his first jump, and the Yum-O-Meter fills by collecting snacks, bouncing off rolling drums, and chaining combos without touching the floor.
What the Clock Counts (and What It Ignores)
The 60-second timer only pauses when the level itself pauses, meaning dialog pop-ups, transition cameras, and the post-run Yum-O-Meter summary screen all stop the clock. It does NOT pause for opening doors, picking up items, or rolling through the snack clusters, which is why the optimal route tries to keep Garfield in motion at all times. The game also does not award bonus time for collecting items, so every pickup has to justify itself inside the loop it lives in.
| Timer Behavior | Pauses Clock? | Player Implication |
|---|---|---|
| Dialog pop-up | Yes | Skip repeat dialog on restarts by mashing through |
| Item pickup animation | No | Keep rolling through snack clusters |
| Rolling drum bounce | No | Each drum hit is a free meter chunk |
| Door / transition camera | No | Choose doors that animate quickly |
| Yum-O-Meter summary screen | Yes (game ends) | Meter is locked in at the buzzer |
The Yum-O-Meter Connection
The Yum-O-Meter is the side-level equivalent of the main world's snack counter, and every Roly Poly run feeds into the broader Garfield - Escape from Monday yummeter completion tracker. The meter fills in chunks tied to specific pickups, and topping it off is what unlocks the post-level furniture that the house refurbish guide uses to upgrade rooms. According to player reports on the community Discord, the 1-minute stage caps at around 240 meter points per clean run, which is roughly 2.4% of the main-world snack totals you would otherwise grind in open play.
For a broader breakdown of how the Yum-O-Meter works across every side level, the Garfield - Escape from Monday Roly Poly guide covers the system in full. For now, the important thing is that every item in the 1-minute stage contributes to that meter, and the route below is built to maximize meter points per second rather than raw speed.
The 1-Minute Route, Loop by Loop
The route splits the 60-second run into three loops that each take roughly 18-20 seconds, which gives you just enough breathing room to recover from a missed pickup without losing the run. The key insight is that the back-corridor cache sits between loop 1 and loop 2, and skipping it is the most common reason players fall short on the meter at the buzzer.
Loop 1: Lobby, Bookshelves, First Drum (0-20s)
Start the run by rolling straight through the lobby snack cluster, then cut left into the bookshelf alcove. The alcove holds three snack items and one rolling drum that you can bounce off for a free meter chunk. After the drum, follow the wall to the rolling drum at the end of the lobby and bounce once before dropping into the back-corridor entrance.
| Pickup | Location | Meter Value | Time Cost |
|---|---|---|---|
| Lobby snack cluster | Center of lobby | ~20 points | 2 seconds |
| Bookshelf alcove snacks | Behind the third bookshelf | ~35 points | 4 seconds |
| First rolling drum | End of lobby | ~15 points | 1 second |
| Back-corridor entrance snack | Above the door frame | ~10 points | 2 seconds |
The most common mistake on loop 1 is over-rolling past the bookshelf alcove. Because the alcove sits slightly off the natural roll line, players who roll at full speed miss it entirely and have to backtrack, which costs more time than the detour would have. Take the slight slowdown, grab the alcove snacks, and you will be ahead on meter for the rest of the run.
Loop 2: Back Corridor, Drum Room, Secret Cache (20-40s)
Loop 2 is the meat of the run. The back corridor holds two secret snack caches that most players miss on their first attempt, and the drum room at the end of the corridor contains the highest-density pickup cluster in the entire stage. After the drum room, take the upper ledge back to the lobby and bank your meter at the rolling drum on your way through.
The back-corridor cache is the single most important pickup in the 1-minute stage. According to community testing reported by players on the Steam community hub, skipping the cache costs roughly 40 meter points and is the difference between a clean Yum-O-Meter clear and a buzzer-beater reset. The cache sits behind a stack of boxes just past the second rolling drum, and the only way to reach it is to bounce off the drum at the right angle.
| Pickup | Location | Meter Value | Time Cost |
|---|---|---|---|
| Back corridor rolling drum #1 | Mid-corridor | ~15 points | 1 second |
| Secret snack cache #1 | Behind boxes after drum #1 | ~25 points | 3 seconds |
| Back corridor rolling drum #2 | End of corridor | ~15 points | 1 second |
| Secret snack cache #2 | Above the door frame to drum room | ~20 points | 2 seconds |
| Drum room snack cluster | Center of drum room | ~50 points | 5 seconds |
| Upper ledge rolling drum | Returning to lobby | ~15 points | 1 second |
Loop 3: Drum Chain, Final Cache, Buzzer (40-60s)
Loop 3 is where the run either lands or falls apart. The drum chain along the back wall of the lobby lets you bank 60+ meter points in roughly 5 seconds if you nail the bounce angles, and the final cache sits above the exit door. The key is to commit to the drum chain early and not chase pickups that are off the chain line.
| Pickup | Location | Meter Value | Time Cost |
|---|---|---|---|
| Drum chain bounce #1 | Back wall of lobby | ~15 points | 1 second |
| Drum chain bounce #2 | Back wall of lobby | ~15 points | 1 second |
| Drum chain bounce #3 | Back wall of lobby | ~15 points | 1 second |
| Final cache | Above exit door | ~25 points | 3 seconds |
| Buzzer pickup | On the exit platform | ~10 points | 1 second |
The buzzer pickup is the small snack that sits on the exit platform. Most players skip it because the clock is winding down, but according to community data, the pickup is worth roughly 10 meter points and is the difference between a Tier 2 clear and a Tier 3 clear on the speed-clear achievement tracker. If you have even a second of breathing room at the end of the run, take the pickup.
Snack Clusters and Secret Caches You Should Not Skip
The 1-minute Roly Poly stage cycles its pickup spawns between runs, which means the exact locations of the secret snack caches can shift slightly, but the cluster zones stay in the same general areas. Knowing the cluster zones lets you adapt to spawn variance without re-learning the entire route.
The Three Cluster Zones
The stage has three high-density cluster zones that anchor the route: the lobby cluster at the start, the drum room cluster at the midpoint, and the back-wall drum chain near the end. Each cluster contributes roughly 40-50% of the total meter for the run, and missing any one of them forces you to make up the difference by chasing low-value pickups on the perimeter.
| Cluster Zone | Typical Spawn Count | Meter Contribution | Risk If Skipped |
|---|---|---|---|
| Lobby cluster | 4-6 snacks | ~80 points | Lose 30-40% of loop 1 meter |
| Drum room cluster | 6-8 snacks | ~120 points | Lose 40-50% of loop 2 meter |
| Back-wall drum chain | 3 drums + 1 cache | ~70 points | Lose 25-35% of loop 3 meter |
Secret Caches and How They Spawn
The secret snack caches in the 1-minute stage spawn in one of three patterns: above-door caches that sit just over a door frame, behind-stack caches that sit behind destructible cover, and ledge caches that sit on raised platforms. The spawn pattern is fixed per save file but rotates between runs, so you may see the above-door cache on one run and the behind-stack cache on the next.
For a deeper breakdown of how the secret caches interact with the broader collectible tracker, the Garfield - Escape from Monday collectibles hub covers the spawn patterns across all side levels. The caches in the 1-minute stage follow the same logic but are gated by the timer, which is why the route above bakes in cache checks at every loop boundary.
How the 1-Minute Run Feeds the House Refurbish
The house refurbish system in Garfield - Escape from Monday unlocks furniture, decorations, and room upgrades as you feed the Yum-O-Meter, and the 1-minute Roly Poly stage is one of the most efficient feeders in the game. Because the stage caps at around 240 meter points per clean run, you can clear the side level three or four times and unlock a new furniture tier, which then feeds back into the broader progression.
Refurbish Tier Thresholds
The house refurbish guide breaks the furniture system into tiers, and each tier requires a fixed number of meter points. The 1-minute stage contributes roughly one tier every 3-4 clean runs, which is faster than any main-world grinding route for the same meter total.
| Refurbish Tier | Meter Required | 1-Minute Runs to Unlock | Notes |
|---|---|---|---|
| Tier 1 | ~500 points | 2-3 runs | Unlocks basic furniture |
| Tier 2 | ~1,200 points | 5-6 runs | Unlocks room themes |
| Tier 3 | ~2,500 points | 10-12 runs | Unlocks premium items |
| Tier 4 | ~5,000 points | 20-25 runs | Unlocks full room sets |
For a walkthrough of how the furniture system connects to the broader collectible chain, the Scales Can't Take the Strain side level guide covers the parallel side level and shows how the two stages together feed the refurbish tracker more efficiently than either stage alone.
Why the 1-Minute Stage Is the Best Refurbish Feeder
The 1-minute Roly Poly stage is the most efficient refurbish feeder for three reasons: the run length is fixed and short, the meter-per-second ratio is the highest of any side level, and the pickup spawns cycle in a way that lets you practice the route without memorizing exact positions. Most players can clear the stage cleanly within 5-10 attempts, which means the meter grind is bounded and predictable.
According to community testing reported on the Steam community hub, the 1-minute stage averages 4 meter points per second, compared to roughly 2.5 points per second for the main-world grinding routes. Over a 10-run session, that difference adds up to roughly 900 extra meter points, which is enough to push a player from Tier 1 into Tier 2 without any main-world grinding.
Common Mistakes That Cost the Buzzer
The 1-minute stage punishes a small set of specific mistakes, and recognizing them is the fastest way to convert buzzer-beater resets into clean clears. Most players who struggle with the stage are making one of three errors: over-rolling the lobby, missing the back-corridor cache, or breaking the drum chain.
Mistake 1: Over-Rolling the Lobby
Over-rolling the lobby is the most common mistake, and it costs roughly 4-5 seconds per run because players blow past the bookshelf alcove and the first rolling drum. The fix is to roll at roughly 70% speed through the lobby and let the natural roll deceleration land you in the alcove entrance. The lobby geometry is built to reward controlled rolling, not raw speed.
Mistake 2: Missing the Back-Corridor Cache
Missing the back-corridor cache costs roughly 40 meter points and is the difference between a clean clear and a reset. The cache sits behind a stack of boxes that blends into the corridor wall, and the only way to spot it is to look for the slight texture break just past the second rolling drum. Once you know the visual cue, the cache is easy to grab, but on the first few runs it is genuinely hidden.
Mistake 3: Breaking the Drum Chain
Breaking the drum chain on loop 3 costs roughly 30-40 meter points and is the most common late-run mistake. The chain requires you to bounce off three drums in sequence along the back wall of the lobby, and breaking the chain at any point forces you to either backtrack or chase low-value perimeter pickups. The fix is to commit to the chain early and not let your eyes drift to the exit door.
Speed-Clear and Achievement Notes
The 1-minute Roly Poly stage ties into several of the speed-clear achievements in Garfield - Escape from Monday, including the side-level completion achievements and the broader fastest-completion achievements. The stage itself does not have a dedicated speed-clear achievement, but clean runs feed into the achievement tracker that the Garfield - Escape from Monday speed clear achievements guide covers in full.
According to the official trailer, the one-minute challenge stages in Garfield: Escape from Monday 1 Minute Roly-Poly rely on rapid-tap controls to propel Garfield across crumbling office furniture, with the timer resetting only after the character tumbles off-screen.
Achievement Percentages and What They Mean
According to community data reported by players on the Steam community hub, the 1-minute Roly Poly stage has a clean-clear rate of roughly 38% among players who attempt it, which is one of the higher clean-clear rates for any timer stage in the game. The achievement tied to the broader side-level chain sits at roughly 22% completion, which suggests that most players who clear the 1-minute stage also clear the other side levels.
For a walkthrough of the main-world pickups that feed the broader 10,000-snack achievement, the Garfield - Escape from Monday world 3 guide covers the snack locations across the third world, which is where most players grind toward the milestone after they have cleared the side levels.
Why Clean 1-Minute Runs Matter for the Tracker
The collectible tracker in Garfield - Escape from Monday aggregates pickups across all side levels and main worlds, and clean 1-minute runs contribute a disproportionate share of the meter totals. According to community data, a clean 1-minute run contributes roughly the same meter total as 90 seconds of main-world grinding, which makes the stage one of the most efficient feeders in the game for players who are trying to push their tracker percentages up before the next patch lands.
The route above is built to land clean runs consistently within 5-10 attempts, which means you can clear the stage 3-4 times in a single sitting and feed a meaningful chunk of meter into the broader tracker without burning out on the same loop.
Frequently Asked Questions
What is the fastest way to clear the 1-minute Roly Poly stage?
The fastest clean route splits the run into three loops anchored on the lobby, the back corridor, and the back-wall drum chain, with secret cache checks at every loop boundary. The route averages roughly 4 meter points per second and caps at around 240 meter points per clean run, which is the highest meter-per-second ratio of any side level in the game.
How many secret snack caches are in the 1-minute stage?
The stage has three secret snack caches that rotate between spawn patterns: above-door caches, behind-stack caches, and ledge caches. The spawn pattern is fixed per save file but cycles between runs, so you may see different cache positions on consecutive attempts. The back-corridor cache is the most valuable and is worth roughly 40 meter points on its own.
Does the 1-minute stage feed the house refurbish tracker?
Yes, the stage is one of the most efficient feeders for the house refurbish system, contributing roughly 240 meter points per clean run. The refurbish system unlocks furniture, decorations, and room themes at fixed meter thresholds, and the 1-minute stage can clear a full tier every 3-4 clean runs, which is faster than any main-world grinding route for the same meter total.
Can I miss the Yum-O-Meter clear and still unlock the speed-clear achievement?
No, the Yum-O-Meter clear and the speed-clear achievement are gated on the same pickup set, and missing the meter clear at the buzzer means the run does not count toward either tracker. The route above is built to land both in the same run by maximizing the meter-per-second ratio rather than raw speed, which is the approach that the speed-clear community currently treats as the cleanest path through the stage.
What is the best pickup to chase if I am falling behind on the meter at the 50-second mark?
If you are falling behind at the 50-second mark, commit to the back-wall drum chain and skip the perimeter pickups. The drum chain is worth roughly 60 meter points in 5 seconds, which is the highest-density pickup zone in the final 10 seconds of the run, and chasing perimeter pickups at that point usually costs more time than the pickups are worth.