
Garfield - Escape from Monday wraps three visually distinct worlds around the same platforming formula, and each one bakes a different trap into the scenery. Veggie hazards in the farm punish sloppy jumps with bounce pads and rolling produce, candy level gimmicks smother stages in sticky floors and springy frosting, and the desert levels turn the timer into your loudest enemy. Knowing which theme rewards caution and which theme punishes it is the difference between a clean run and a restart loop.
The Three Level Themes and What Each One Tests
Every stage in the game belongs to one of three thematic families, and each family has its own mechanical personality. The theme tells you which resources to expect, which traps to fear, and how aggressively the level timer is going to chase you. Reading the theme correctly is half of every clear, because it dictates the rhythm of movement the level wants from you.
Vegetable Nightmare is the opening farm world and the softest introduction to platforming. Candy Kingdom swaps the produce for sugar and the bounce pads for sticky floors and springy frosting platforms. Barbecue Desert is the third world, and the one that the community flags as the home of the hardest level in the game because the heat, the cacti, and the long horizontal stages compound the timer pressure.
The Garfield - Escape from Monday level list maps every stage to its parent world, but the theme layer underneath that list is what this guide is about. Treat the theme as a difficulty knob: veggie is forgiving, candy is mechanical, desert is a timer exam.
Theme Comparison at a Glance
| Theme | Core Mechanic | Main Hazard | Timer Pressure | Skill It Tests |
|---|---|---|---|---|
| Veggie (Vegetable Nightmare) | Rolling produce, bounce pads | Pushing gourds, vine traps | Low to medium | Basic platforming rhythm |
| Candy (Sweet Kingdom) | Sticky floors, frosting springs | Sticking on contact, long detours | Medium | Trajectory and route planning |
| Desert (Barbecue Desert) | Heat waves, cacti, gusts | Visibility drops, forced backtracks | High | Sustained speed and stamina |
Each theme deliberately layers new constraints on the previous one, so a player who masters the candy world's frosting springs and sticky-floor detours still has to relearn the same routing once Barbecue Desert strips visibility via heat waves and forces every planned shortcut into a backtrack penalty, all while the timer pressure escalates from medium to high and demands sustained stamina rather than the steady platforming rhythm the veggie levels rewarded.
Veggie Hazards in Vegetable Nightmare
The veggie hazards are the first traps players meet, and they lean into a very old-school platforming idea: don't stand where the produce is rolling. Stages in Vegetable Nightmare spread bounce pads across harvest rows, and every time Garfield hits one the launch angle depends on his current momentum, which means a running approach throws him much farther than a standing tap. Community testing has noted that misjudging the angle is the single most common cause of early restarts, because new players tend to treat the pads like teleporters and skip the lead-in distance.
Vine traps line the vertical sections and pull Garfield down if he lingers on them. The counter is to commit to a jump the instant a vine snaps open, which is a habit the candy world will punish you for not building. The rolling pumpkins and melons in the row stages travel in fixed patterns, so the safe path is always a window between two passes, not a panic dodge. Players who try to brute-force the gaps with a double jump usually land in the next row's vine, which is why the first world teaches a measured rhythm rather than raw reflex.
Veggie Hazard Cheat Sheet
| Hazard | Where It Appears | Counter |
|---|---|---|
| Bounce pads | Harvest rows, vertical climbs | Match running speed to launch distance |
| Vine traps | Climb sections, bridge gaps | Commit to a jump the moment it opens |
| Rolling produce | Row stages, farm transitions | Time the gap, do not chase the roll |
| Sticky mud patches | After rain stages | Short hops, never a slide |
World 1's veggie hazards look almost forgiving next to the desert levels and the candy level gimmicks of later worlds, but the bounce pads, vine traps, and rolling produce here deliberately train the pattern-reading reflex that the World 3 unlock and its tighter level timer demand, so treating the harvest rows as a reading exercise rather than a speedrun keeps your approach honest for every harder stage the game escalates into.
Candy Level Gimmicks in Sweet Kingdom
Candy level gimmicks replace the farm's rolling produce with sugar-themed obstacles that mostly revolve around two ideas: stickiness and springiness. Sticky floors slow Garfield to a crawl the moment he touches them, and they appear in long corridors where the safe path is a thin lane of clean ground along the ceiling pipes. Players report that the ceiling pipes are the only reliable way through, because the alternative is a constant jump rhythm that burns stamina before the lasagna pickups even show up.
Frosting springs are the candy version of veggie bounce pads, but they launch much higher and are positioned over gaps rather than flat ground. The temptation is to bounce as soon as you land, but the springs have a one-second cooldown, and timing the bounce wrong drops you straight into a candy pit. The gummy bear patrols in the combat-heavy Sweet Vengeance stage wander the same paths the pickups sit on, so reading the patrol route before you move is the only way to keep both the lasagnas and your health bar.
The level timer in Sweet Kingdom is medium-pressure, but the gimmicks add a hidden cost: every sticky-floor detour eats time, and every misjudged spring forces a backtrack. The community has settled on a "two-screens-ahead" rule for candy levels, which means you always know where the next clean surface is before you commit to the current one. The Garfield - Escape from Monday world map page calls out which Sweet Kingdom stages stack multiple gimmicks, and those are the ones the two-screens-ahead rule was built for.
Candy Gimmick Cheat Sheet
| Gimmick | Where It Appears | Counter |
|---|---|---|
| Sticky floors | Long corridors, lasagna rooms | Use the ceiling pipes, not the floor |
| Frosting springs | Gaps, vertical climbs | Wait for the cooldown, then commit |
| Gummy patrols | Combat stages, pickup routes | Read the loop, time the pickup |
| Chocolate rivers | Bridge stages, side levels | Long jumps only, no mid-air correction |
Sweet Kingdom is where Garfield Escape from Monday pivots from twitchy corridor dodges into deliberate planning stages, and the shift is unmistakable after World 2's reflex gauntlets: ceiling pipes replace the floor in lasagna rooms, chocolate rivers force long-jump commits, and gummy patrols demand a timed pickup loop. The level timer is generous enough that rushing actually costs more time than reading the gimmick, which is why veteran runs treat each stage as a small puzzle rather than a speed test. By the time you finish World 3's unlock, the desert levels will feel merciful by comparison.
Desert Levels and the Timer Problem
The desert levels are where the Garfield - Escape from Monday level timer becomes the main antagonist. Barbecue Desert swaps the farm's produce and the candy's sugar for heat waves, cacti, and horizontal gusts, and every one of them costs you time. Heat waves drop visibility for roughly half a second every few seconds, and the community has flagged the gusts as the most underestimated hazard because they reverse momentum without warning. Players who built their rhythm in the veggie world tend to overcommit to a jump just as a gust hits, which is the classic recipe for a cactus landing.
The desert also stretches stages horizontally far more than the other two themes. Dusty Trail is a long horizontal run that punishes any slowdown, and Higher and Higher extends that horizontal pressure into a vertical climb where heat waves still blank out the next platform. The level timer in these stages does not pause for hazards, so a single bad jump usually costs more than the time a clean run can save.
Why Desert Is the Hardest Level in the Game
The community has settled on a short list of desert stages as the hardest in the game, and the pattern is always the same: high timer pressure plus a hazard that compounds it. Showdown at High Noon is the world boss stage, but the Garfield - Escape from Monday world bosses breakdown is a separate read; what matters for the level themes is that the stage's desert gimmicks carry over into the boss arena, which is why the boss guide treats the timer as the real opponent.
| Desert Stage | Main Gimmick | Why It Hurts |
|---|---|---|
| Tumbleweed Town | Rolling tumbleweeds across a canyon | Tumbleweeds cross the safe path every few seconds |
| Dusty Trail | Long horizontal run with gusts | Gusts reverse momentum mid-jump |
| Higher and Higher | Vertical climb with heat waves | Heat waves blank the next platform |
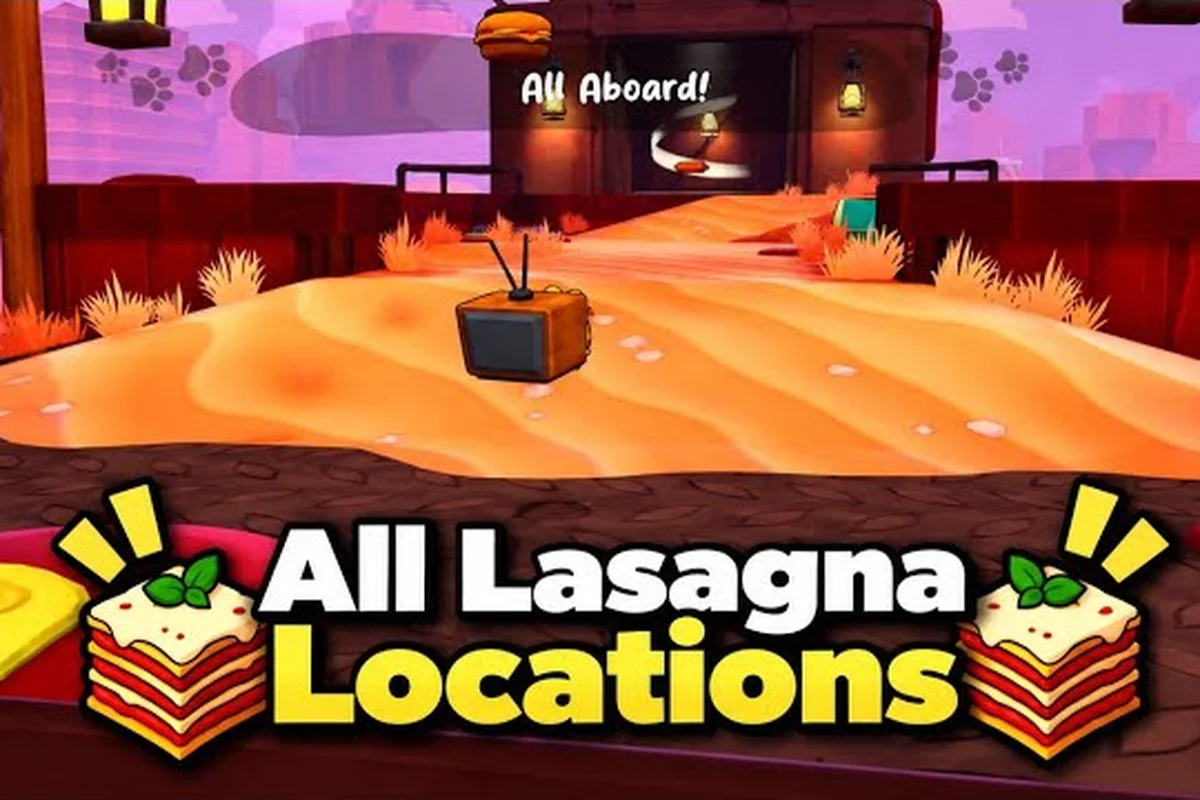
| All Aboard! | Mine cart section with cactus walls | Cart speed plus cactus walls leaves no margin |
| Against the Tide | River push with cacti on the banks | Current slows you into cactus range |
| All Good Things | Twin cliffs with gusts between them | Gusts hit on every cliff transition |
| Showdown at High Noon | Combined gimmicks in the boss arena | Every desert hazard appears in one fight |
The hardest level in the game is whichever one stacks two of these columns, and the community vote usually lands on Dusty Trail or All Aboard! because both combine a long horizontal run with a hazard that forces a backtrack when you mess up.
World 3 Unlock and How Theme Difficulty Escalates
World 3 unlock happens after the player clears the Sweet Kingdom final stage and the Yum-o-Meter threshold, which the Garfield - Escape from Monday roly poly guide explains in detail. The unlock itself is not a hidden switch; it is a pop-up that appears once the meter hits the target, and the desert levels open immediately afterward. The interesting part is that the game does not warn you that the theme has shifted, so players who finished Sweet Kingdom with a slow-and-steady rhythm tend to walk into Tumbleweed Town expecting the same tempo and get eaten by the timer.
The clean way to handle the world 3 unlock is to treat the first three desert stages as a calibration run. Tumbleweed Town, Dusty Trail, and Higher and Higher introduce the desert hazards one at a time, and the community recommends a clean run through all three before attempting the time-attack versions. The same logic applies to costume challenges, because some of the costume challenges are tied to desert pickups, and the Garfield - Escape from Monday costume for desert levels read explains which unlocks smooth out the timer pressure on those runs.
Theme Difficulty Curve
| World | Theme | Intro Stage | Skill Floor | Skill Ceiling |
|---|---|---|---|---|
| World 1 | Veggie | Vegetable Nightmare opening farm | Basic jumps | Bounce-pad angles |
| World 2 | Candy | Sweet Kingdom | Trajectory reading | Two-screens-ahead planning |
| World 3 | Desert | Tumbleweed Town | Sustained speed | Gust timing under a timer |
The skill floor jumps between World 2 and World 3, and that is what makes the desert the hardest level in the game for most players. The jump is not a hidden difficulty setting; it is the theme itself, because the desert layers every hazard the previous worlds taught onto a clock that does not care.
Reading the Theme Before You Commit
The fastest way to apply the theme knowledge is a five-second read at the start of every stage. Look at the foreground: rolling produce means veggie, sticky floors and bright pipes mean candy, and horizontal stretches with a dusty palette mean desert. That read tells you which column of the cheat sheet to load into your head, which in turn tells you whether the stage rewards patience or punishes it.
Veggie levels reward patience. The bounce pads and rolling gourds are patterned, and waiting out a gap is almost always faster than forcing a dodge. Candy levels reward planning, because the sticky floors and frosting springs force you to know the next screen before you cross the current one. Desert levels reward sustained speed, and the level timer is the only reason that is true. Reading the theme before you move is the single highest-leverage habit the game teaches, and it is the one habit that makes the hardest level in the game feel like just another stage.
Frequently Asked Questions
What is the hardest level in Garfield - Escape from Monday?
Community votes land on Dusty Trail and All Aboard! in Barbecue Desert because both stack a long horizontal run with a hazard that forces a backtrack when you mistime a jump. Heat waves and gusts compound the level timer pressure, so even small mistakes cost more time than the same mistakes cost in the veggie or candy worlds.
How long is the level timer in desert stages?
Desert stage timers are tighter than the veggie or candy worlds, and the community has flagged them as the only theme where the timer is the main antagonist. Exact seconds vary by stage, but the rule of thumb is that the desert timer is short enough that a single bad jump usually costs more than a clean run can save, while the veggie timer forgives most early mistakes.
When does world 3 unlock in Garfield - Escape from Monday?
World 3 unlocks after the player clears the Sweet Kingdom final stage and hits the Yum-o-Meter threshold for that world. The unlock is a pop-up, not a hidden switch, and the desert levels open immediately. Treat the first three desert stages as a calibration run before attempting any time-attack versions.
What are the main veggie hazards in Vegetable Nightmare?
The main veggie hazards are bounce pads, vine traps, rolling produce, and sticky mud patches. Bounce pads launch based on current momentum, vine traps pull Garfield down if he lingers, rolling gourds travel in fixed patterns, and sticky mud slows every step. The counter to all four is to read the pattern before committing, which is the habit the rest of the game builds on.
What candy level gimmicks should new players watch for?
New players should watch for sticky floors, frosting springs, gummy patrols, and chocolate rivers. Sticky floors slow Garfield to a crawl and force ceiling-pipe routing, frosting springs launch high and need a one-second cooldown, gummy patrols wander the same paths as the pickups, and chocolate rivers demand long jumps with no mid-air correction. The candy theme rewards planning two screens ahead rather than raw reflex.