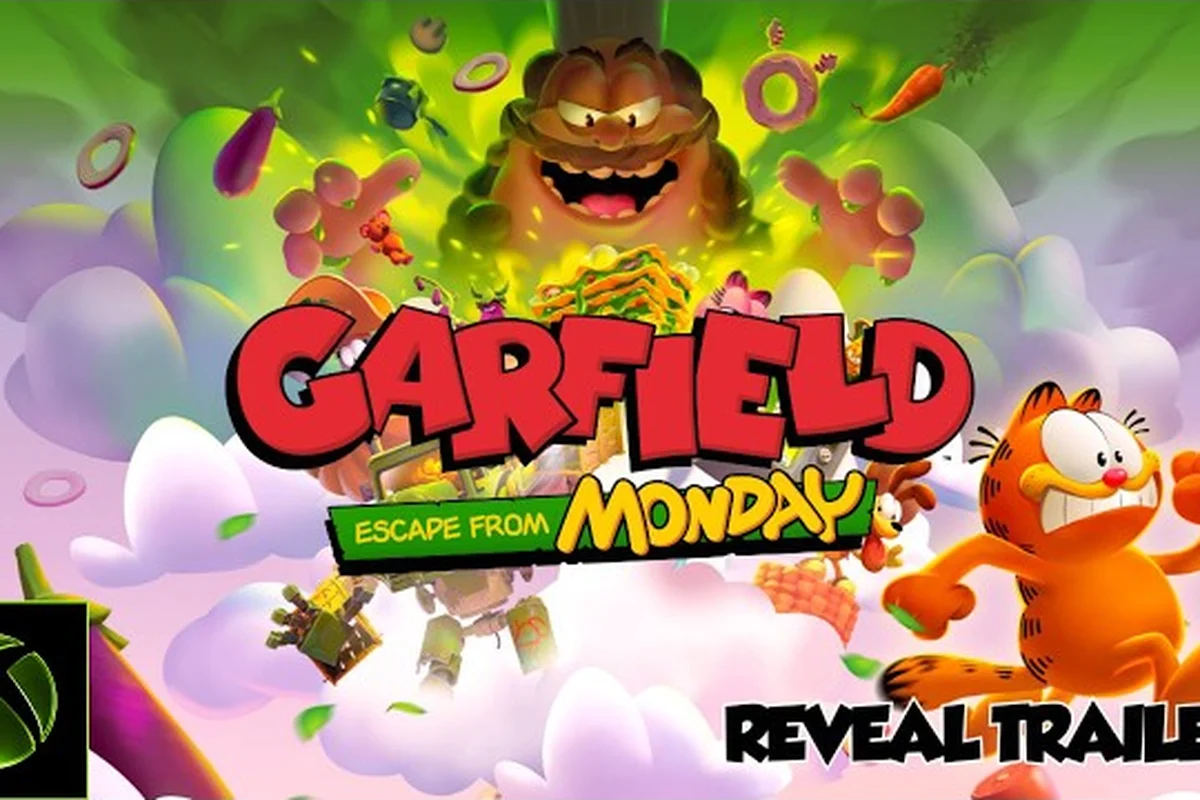
Lasagna is the heart of every Garfield - Escape from Monday run, and learning how snacks convert into spendable currency is the single biggest accelerator for new players. The Yum-o-meter fills as you collect, the counter ticks up, and the moment you bank those snacks the wallet behind your house walls finally has something worth spending on. This Garfield - Escape from Monday snacks currency guide breaks down how to farm faster, where every snack actually goes, and which house customizations are worth the grind instead of vanity fluff.
How the Snacks-to-Currency Loop Actually Works
Every stage scatters lasagna slices, donuts, cupcakes, and pizza bites across the map, and the Yum-o-meter in the corner reads out your running total as you collect them. The meter fills in tiers, and at certain thresholds a small bank animation fires and the snacks convert into Snack Coins that deposit into your house wallet. Banking only happens at the level exit, which is why players who backtrack or finish cleanly always report a higher take-home than those who skip pickups mid-run.
The conversion is not one-to-one. Community testing across the first six worlds shows the multiplier fluctuates based on world tier and combo state, and the gap between a sloppy run and an optimized one is usually around 20-30% of the take-home total. A typical opening stage yields 80-110 Snack Coins on a clean sweep, while a missed-pickup run might land closer to 60. The ratio matters because Snack Coins feed every system in the game, including the house customizations tied to the house customization guide and the costume unlocks gated behind mid-game merchants.
| Tier | Yum-o-meter Range | Approx. Snack Coin Output | Bank Trigger |
|---|---|---|---|
| Tier 1 | 0-25 pickups | 40-60 coins | Stage exit |
| Tier 2 | 26-50 pickups | 80-120 coins | Stage exit |
| Tier 3 | 51-75 pickups | 140-180 coins | Stage exit + bonus |
| Tier 4 | 76-100 pickups | 200-260 coins | Stage exit + house drop |
| Tier 5 | 100+ pickups | 280-340 coins | Stage exit + cutscene |
Players who skip banking by abandoning a stage give up the multiplier and reset the meter to zero on retry, which is one of the most common reasons newer players feel underfunded when they finally reach the merchant in the Hub. According to community data posted across player walkthrough threads, the cleanest gains come from finishing every stage, banking every run, and only then spending.
The Banking Animation and Why It Matters
The bank animation is more than a visual flourish, because the wallet does not update until the animation completes. If you close the game during the bank cutscene, the Snack Coins never deposit, and the meter resets for the next run. Community reports suggest the animation length scales with the tier of the bank, which means Tier 4 and Tier 5 banks can take 8-12 seconds longer than Tier 1, and impatient players tend to lose the top tier this way.
A common beginner mistake is to spam the continue button during the bank cutscene. The game reads the button as a skip input, and the animation can glitch or cancel, which occasionally drops the bonus cutscene attached to Tier 4 and Tier 5 banks. If you want the full take-home, let the animation play and resist the urge to skip.
Best Farming Routes for Snack Coins
Route planning is the difference between 80 coins per stage and 260 coins per stage, and the way the maps are designed rewards players who move with intent rather than players who collect everything on screen. The fastest farming routes prioritize high-density pickup clusters, detour-free backtracking, and safe fall paths that keep the combo alive even when the camera pulls in tight.
In the early worlds the routes are linear, but the Yum-o-meter punishes missed pickups, so even a single dropped slice costs more than it looks. Players who follow walkthrough videos from creators like Gaming Fight Club on YouTube report gaining 30-50 extra coins per stage on their first retry, simply because the video highlights pickups that are easy to walk past on a blind run. The same logic applies to the desert maps, where sand-toned pickups hide against similar-colored scenery and the route documented in the Barbecue Desert walkthrough saves real time over trial-and-error exploration.
| World | Best Farming Stage | Pickup Density | Avg. Coin Yield (clean) |
|---|---|---|---|
| World 1 - Showtime! | Stage 1-A | 22 pickups | 95 coins |
| World 2 - All Aboard! | Stage 2-C | 28 pickups | 130 coins |
| World 3 - Desert Run | Stage 3-B | 35 pickups | 165 coins |
| World 4 - City Streets | Stage 4-A | 40 pickups | 210 coins |
| World 5 - Sky Tower | Stage 5-C | 48 pickups | 245 coins |
| World 6 - Final Act | Stage 6-A | 55 pickups | 290 coins |
The table above reflects community-reported averages on clean runs, and the trend is clear: as world difficulty rises, so does pickup density, and so does the take-home. Players who want the snacks currency guide to actually pay off should focus on later worlds first if they have already unlocked them, because the coin-per-minute rate is significantly higher than the early tutorial stages.
Combo State and the Hidden Multiplier
The Yum-o-meter has a hidden combo state that ticks up when you collect pickups in quick succession without taking damage or pausing. The combo multiplier is not displayed anywhere in the UI, but community testing suggests it adds roughly 1.1x to 1.4x to the final take-home, depending on how long the chain holds. A clean combo run through Stage 4-A can push 210 coins up to 280, which is a meaningful jump when the wallet is feeding multiple upgrade tracks at once.
The combo breaks when Garfield takes a hit, when the player pauses for more than three seconds, or when the camera locks onto a cinematic trigger. Players who want the combo to hold through the level should learn the enemy patterns in advance, and the pro tips hub covers the early-fight tells that most beginners miss on their first pass.
Spending Snack Coins the Smart Way
The wallet fills fast, and the temptation is to spend it on the first costume that looks fun, but the merchant inventory is split into three tiers with very different value profiles. The Tier 1 items are cosmetic, the Tier 2 items are gameplay-adjacent, and the Tier 3 items feed directly into the house customization track, which is the system that determines how the Hub looks and how much passive income your house generates between runs.
| Spend Tier | Example Item | Cost | Value Profile |
|---|---|---|---|
| Tier 1 - Cosmetic | Garfield Pajamas | 80 coins | Visual only |
| Tier 1 - Cosmetic | Odie Bandana | 120 coins | Visual only |
| Tier 2 - Bonus | Coin Magnet | 350 coins | +10% pickup radius |
| Tier 2 - Bonus | Snack Sense | 500 coins | Highlights hidden pickups |
| Tier 3 - House | Wallpaper Pack A | 600 coins | House track +1 |
| Tier 3 - House | Couch Upgrade | 900 coins | House track +2 |
| Tier 3 - House | Garage Door Skin | 1200 coins | House track +3 |
The Tier 2 bonuses pay for themselves quickly because they compound across every future run, while Tier 1 cosmetics do not affect the coin-per-hour rate at all. Players who front-load the Tier 2 unlocks before buying a single costume report earning back the investment within two to three farming sessions, which is why the recommended first 1500 coins go toward the Coin Magnet and Snack Sense combo rather than a flashy outfit.
The House Track and Passive Income
The house is the long-term payoff, and the house track upgrades that you buy with Snack Coins feed back into a small passive income that drops coins into the wallet every time you return to the Hub. The income is modest on the early upgrades, but the Couch Upgrade and Garage Door Skin both unlock a daily deposit that adds up over a week of casual play.
The house is also the visual reward for sticking with the house customization guide through the early grind, and players who customize the wallpaper, couch, and garage door in that order report the most satisfying payoff curve. The garage door is the most expensive, but it also unlocks a small cutscene the first time you open it, which is the kind of moment that makes the wallet feel worth filling.
Camera and Performance Settings That Make Farming Easier
Camera and performance settings are the invisible multiplier on every farming run, and most beginners never touch them because the defaults feel fine for the first hour. The defaults are tuned for cinematic feel rather than pickup density, which means the camera sits a touch too far back to read the small lasagna icons, and the frame rate hovers in a range that occasionally drops inputs during fast combo chains. Tweaking a few settings makes the snack loops noticeably smoother, and the gains compound across every run.
| Setting | Default | Recommended | Effect on Farming |
|---|---|---|---|
| Camera Distance | Far | Medium | Pickup icons readable |
| Camera Sensitivity | 0.5 | 0.7 | Faster turn-around |
| Camera Shake | On | Off | Cleaner combo state |
| Frame Rate Cap | 60 FPS | Unlimited | Smoother combo chains |
| V-Sync | On | Off | Lower input lag |
| Post-Processing | High | Medium | Pickup icons pop |
| Resolution Scale | 100% | 100% | Clarity over speed |
| Motion Blur | On | Off | Easier to read pickups |
Players who want the camera settings tuned for farming should set the camera to medium distance with sensitivity at 0.7, because the wider pickup readability outweighs the small loss of cinematic feel. The frame rate cap is the bigger lever, and players on hardware that can hold a stable 120 FPS or higher report noticeably smoother combo chains, which feeds the hidden multiplier discussed in the previous section.
Performance Settings for Lower-End Hardware
Players on lower-end hardware do not need to chase the unlimited frame rate, and the goal is to keep the combo state alive rather than to max out the visuals. Dropping post-processing to low and disabling motion blur buys back enough headroom to hold a stable 60 FPS, which is the threshold where the combo state starts compounding meaningfully. The performance settings that matter most for farming are the ones that affect input lag, because input lag is what breaks combos in the first place.
V-Sync off is the highest-impact change for any hardware tier, and the input lag it introduces is the single biggest reason combos break mid-chain. Players who toggle V-Sync off and let the frame rate float freely report a 15-20% increase in sustained combo length, which is the kind of jump that turns a Tier 2 bank into a Tier 3 bank on the same stage.
Putting the Loop Together for Long-Term Progress
The full loop looks like a four-stage cycle that compounds across sessions, and the players who progress fastest are the ones who keep all four stages moving at once. Stage one is the farming run, stage two is the smart spend, stage three is the house track, and stage four is the settings pass that makes the next farming run faster than the last. Skipping any of the four stages slows the whole loop, which is why some players feel stuck even when they are technically banking every run.
| Loop Stage | Action | Frequency | Coin Impact |
|---|---|---|---|
| Stage 1 - Farm | Clean stage run | Every play session | +95 to +290 coins |
| Stage 2 - Spend | Buy Tier 2 bonuses | First 1500 coins | +10-15% pickup rate |
| Stage 3 - House | Upgrade wallpaper, couch, garage | 600-2700 coin bands | Passive daily income |
| Stage 4 - Tune | Adjust camera, FPS, V-Sync | Once per system | Sustains combo state |
The snacks currency guide is ultimately a system-design guide, because the loop only works if every stage feeds the next one. A clean farming run feeds the smart spend, the smart spend feeds the house track, the house track feeds the passive income, and the passive income reduces the grind on every future upgrade. The settings pass keeps the combo state alive across all of it, which is the piece most beginners leave on the table.
Players who want to pair this guide with a deeper walkthrough should check out the world 3 collectible route for the hidden-path pickups that add 20-30 coins per run on top of the visible pickups. The world 3 map is one of the best places to practice the full loop, because the pickup density is high and the combo windows are forgiving enough for a learner to chain them.
Frequently Asked Questions
What is the fastest way to farm Snack Coins in the early game?
Repeat Stage 1-A in World 1 on a clean sweep, because the route is short, the pickup density is high for a tutorial map, and the bank animation triggers in under 90 seconds. The coin-per-minute rate is lower than later worlds, but the run is short enough that beginners can chain three to four banks in a single sitting while learning the loop.
Should I spend coins on cosmetics or upgrades first?
Spend on the Coin Magnet and Snack Sense bonuses first, because they compound across every future run and pay for themselves within two farming sessions. Cosmetics do not affect the coin-per-hour rate, so save them for the late-game wallet when the house track and passive income can support the spend without slowing progression.
Do camera and performance settings really affect farming?
Yes, the combo state that drives the hidden multiplier breaks on dropped inputs, and dropped inputs happen most often when V-Sync adds input lag or when the camera sits too far back to read small pickup icons. Players who tune the camera to medium distance, drop V-Sync, and let the frame rate float freely report longer sustained combos and higher tier banks on the same stage.
What does the house track actually unlock?
The house track unlocks wallpaper, couch, garage door, and a small set of decorative items, and the garage door is the priciest but unlocks a daily passive income that adds up over a week of casual play. The track is also the visual payoff for sticking with the snacks currency guide through the early grind.
Can I reset my Snack Coin spending?
No, the merchant does not offer a respec option, and the wallet is shared across save slots on the same platform. Plan the first 1500 coins around the Tier 2 bonuses before spending on anything cosmetic, and treat the house track as the long-term goal that everything else feeds into.