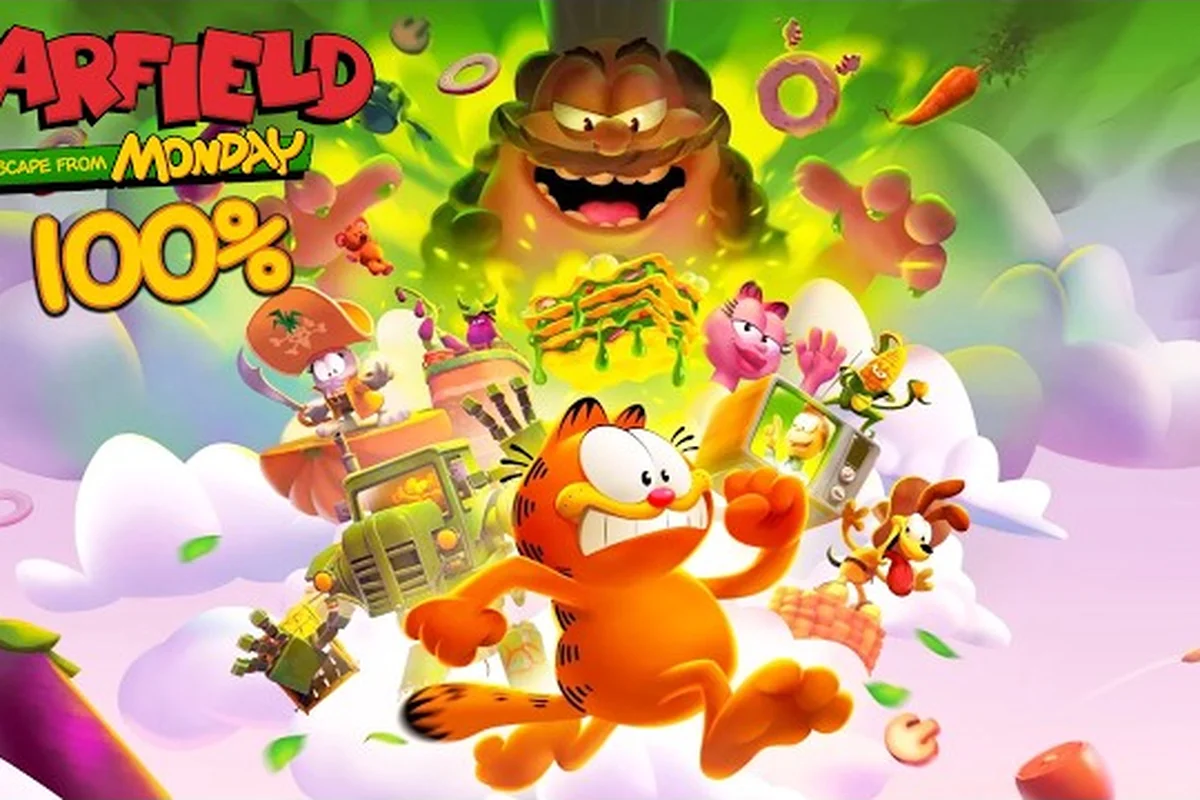
A complete Garfield - Escape from Monday walkthrough has to do more than show the critical path — it has to flag every lasagna, side route, and boss pattern so a 100% run is realistic on a first playthrough. The game ships with three full worlds (Vegetable Nightmare, Sweet Kingdom, Barbecue Desert), each with its own main levels, side levels, and a world boss, then closes with a final encounter that ties the whole Monday nightmare arc together. Community-built full game coverage by BeardBear breaks the campaign into those same chapter blocks, which makes it the cleanest reference for pacing a run. This guide collects the best patterns from the player community into one route you can follow from the title screen to the credits.
How the Three Worlds Fit Together
Before diving into level-by-level tactics, it helps to see how the three worlds connect. The Garfield Escape from Monday full walkthrough is structured as a linear campaign, but each world has hidden side levels that branch off the main path. Missing those branches locks you out of costumes, bonus lasagnas, and the cosmetic rewards that show up in the post-credits gallery.
| World | Main Levels | Side Levels | Boss | Visual Theme |
|---|---|---|---|---|
| Vegetable Nightmare | 5 | 3 | Vine Titan | Haunted garden / mutated produce |
| Sweet Kingdom | 5 | 3 | Candy Golem | Pastel candy castles / frosting rivers |
| Barbecue Desert | 5 | 3 | Smokey Marauder | Scorched sand / molten grill pits |
| Final Chapter | 1 | 0 | The Monday Machine | Clockwork nightmare realm |
Each world follows the same internal beat: play through the main levels in order, backtrack to find the three side routes, then fight the world boss to unlock the next world. A second full-clear run by packattack04082 is a useful second opinion whenever a side-level entrance is hard to spot, because that player collected every lasagna in one continuous run.
Movement Basics That Carry Every World
Garfield's core moveset is the same across all three worlds, so learning it once saves time in every later stage. The roly-poly (curl into a ball and roll) is your primary offensive and mobility tool, and it doubles as a damage source when you bounce off enemies at speed.
-
Roly-poly charge — held roll builds momentum and breaks light crates
-
Pounce — short hop used to reach ledges and bounce on enemy heads
-
Belly bounce — downward slam that stuns grounded foes and triggers some switches
-
Sneak — slow walk that hides you from patrolling enemies in Barbecue Desert
No-damage players such as the runner behind this 100% No Damage route lean on these moves exclusively — the run is built around clean spacing, safe roly-poly lines, and never trading hits, which is the same discipline a normal first clear benefits from.
Vegetable Nightmare Walkthrough
The Vegetable Nightmare walkthrough is where the game's mechanics get fully introduced. World 1 teaches roly-poly combat, basic platforming, and the first lasagna pickups. Side levels in this world are where most first-time players lose their full-clear momentum, because two of the three entrances are hidden behind breakable walls.
| Level | Lasagnas | Key Pickup | Common Mistake |
|---|---|---|---|
| 1-1 Lettuce Lane | 2 | Sprint Shoes power-up | Missing the wall-bounce lasagna above the exit gate |
| 1-2 Carrot Caverns | 3 | Heart Container | Forgetting the roly-poly shortcut under the bridge |
| 1-3 Tomato Tower | 3 | Double-Jump badge | Skipping the vine wall on the right side of stage 2 |
| 1-4 Onion Opera | 2 | None | Triggering the rolling boulder too early |
| 1-5 Pumpkin Palace | 4 | World 1 Costume | Missing the lasagna behind the boss door |
| 1-S1 Sprout Shrine | 2 | Bean Sprout costume | Entering without the Sprint Shoes from 1-1 |
| 1-S2 Radish Run | 3 | None | Using pounce where roly-poly is required |
| 1-S3 Cel Crypt | 2 | Heart Container | Missing the second-floor switch |
Boss Strategy: Vine Titan
The Vine Titan is a two-phase fight. Phase one has the boss swing three vine arms across the arena while a head-mounted weak point is exposed. Phase two starts at half health: the head retreats, the arena floods with poison pools, and the only damage window is after a belly-bounce stun.
The cleanest opening is to pounce on the head, then roly-poly into each arm as it recoils. If you are missing the costume that drops from this fight, the Garfield Escape from Monday costume for Sweet Kingdom guide has a workaround that lets you start World 2 with the Bean Sprout outfit already upgraded.
Sweet Kingdom Walkthrough
The Sweet Kingdom walkthrough is the most vertical of the three worlds. Platforms are made of stacked cookies, frosting rivers deal contact damage, and most collectibles are suspended over pits. Side levels here open up only after you clear specific main levels, so the unlock order matters more than the level numbers suggest.
| Level | Lasagnas | Key Pickup | Common Mistake |
|---|---|---|---|
| 2-1 Cookie Crumble Path | 2 | Frosting Glider | Falling off the side route into the river below |
| 2-2 Marshmallow Mound | 3 | None | Missing the lasagna inside the hollow candy cane |
| 2-3 Jellybean Jungle | 3 | Heart Container | Triggering the gummy bear ambush without roly-poly charge |
| 2-4 Wafer Walls | 4 | Double-Jump badge | Skipping the wind-current section in stage 2 |
| 2-5 Frosting Fortress | 5 | World 2 Costume | Missing the secret room behind the throne |
| 2-S1 Gumdrop Grotto | 2 | None | Entering before unlocking the Frosting Glider |
| 2-S2 Taffy Tower | 3 | Heart Container | Running out of air in the vertical climb |
| 2-S3 Sprinkle Spire | 2 | Bean Sprout costume+ | Forgetting the second costume token under the bell |
Boss Strategy: Candy Golem
The Candy Golem fights in three phases and the difficulty curve is steep. Phase one is a slow chase: the golem lumbers toward you, swatting with one arm. Phase two adds candy-cane projectiles. Phase three makes the floor sticky — every jump costs extra height, and standing still spawns mini-golems.
Your best counter is to keep the roly-poly charged and only release it when the golem winds up a swing. The third phase is where most players lose runs, and using a single costume token (acquired earlier) reduces the sticky-floor penalty enough to keep your jump arc normal.
Barbecue Desert Walkthrough
The Barbecue Desert walkthrough shifts the game into stealth-and-rhythm territory. The main levels are shorter than the first two worlds, but every stage has at least one patrol path you have to read. Side levels return to pure platforming, which makes the world feel like a difficulty spike on first contact.
| Level | Lasagnas | Key Pickup | Common Mistake |
|---|---|---|---|
| 3-1 Sandcastle Siege | 2 | Heat Shield | Walking into a patrol cone too early |
| 3-2 Pepper Plateau | 3 | None | Skipping the lasagna in the dune cave |
| 3-3 Grill Gorge | 3 | Heart Container | Falling into the lava stream during the bridge collapse |
| 3-4 Coal Canyon | 4 | Double-Jump badge | Missing the wall-jump shortcut |
| 3-5 Smolder Summit | 5 | World 3 Costume | Triggering the boss without collecting the costume token |
| 3-S1 Ketchup Cliffs | 2 | None | Entering without the Heat Shield |
| 3-S2 Mustard Mesa | 3 | Heart Container | Missing the second-floor switch |
| 3-S3 Relish Ruins | 2 | Bean Sprout costume++ | Forgetting the third costume token under the arch |
Boss Strategy: Smokey Marauder
The Smokey Marauder is the fastest world boss and the one where most runs end. It is a ranged fighter: it spits fireballs, backflips away from your roly-poly, and summons small flames that block the arena in phase two. Your safest strategy is to bait the backflip, then close distance while it is in the air, and unload two roly-poly charges into the back before retreating.
Phase two starts at half health, and the arena shrinks. Players on the commentary-free full clear consistently use the same pattern: bait, punish, retreat, repeat. The fight takes roughly九十 seconds with that rhythm, which lines up with the community-tested average clear time.
Final Chapter and the Monday Machine
The final chapter is one long level that blends elements from all three worlds. You start in a clockwork corridor (Vegetable Nightmare architecture), climb a frosting pillar (Sweet Kingdom), then cross a magma bridge (Barbecue Desert) before reaching the Monday Machine arena. Collectibles here are limited but the encounter is long, so it pays to enter with both Heart Containers and a costume token active.
| Phase | Attack Pattern | Safe Strategy |
|---|---|---|
| Phase 1 | Sweeping clock hands | Roly-poly under the swing, pounce on the gear |
| Phase 2 | Time-slow field | Stay near the edges, hit the exposed core twice |
| Phase 3 | Full laser grid | Use the wall-jump rhythm to stay between the beams |
| Phase 4 | Combined assault | Cycle bait, punish, retreat — same as Smokey Marauder |
A successful clear of all four phases ends with the credits roll, a costume gallery unlock, and a New Game+ prompt that lets you replay any world with the costumes you collected. The full list of side-level entrances and lasagna counts is laid out in the Garfield Escape from Monday level list, which is the cleanest reference for planning a backtracking run.
Frequently Asked Questions
How long is the Garfield Escape from Monday full walkthrough?
A first-time clear of the main path runs about 4–5 hours, while a 100% run that includes every side level, lasagna, and costume token lands closer to 7–8 hours. Players running the no-damage route typically add another hour because they reset on every hit.
Do I need the costume to enter the Sweet Kingdom side levels?
You do not. Two of the three Sweet Kingdom side levels open as soon as you clear main levels 2-3 and 2-4. The third unlocks after the world boss, which is when the costume also becomes available, so timing them together is the most efficient play.
Can I backtrack to Vegetable Nightmare after starting Barbecue Desert?
Yes. Once you clear a world boss, every previously cleared world stays open with all its side-level entrances intact. This is the standard route for picking up missed lasagnas without restarting a run.
What happens if I skip a side level on my first playthrough?
Nothing locks you out permanently, but you miss the costume token, the bonus lasagnas, and the cosmetic reward that unlocks in the post-credits gallery. The token is the bigger loss because it carries over to New Game+ and gives a permanent stat boost.